
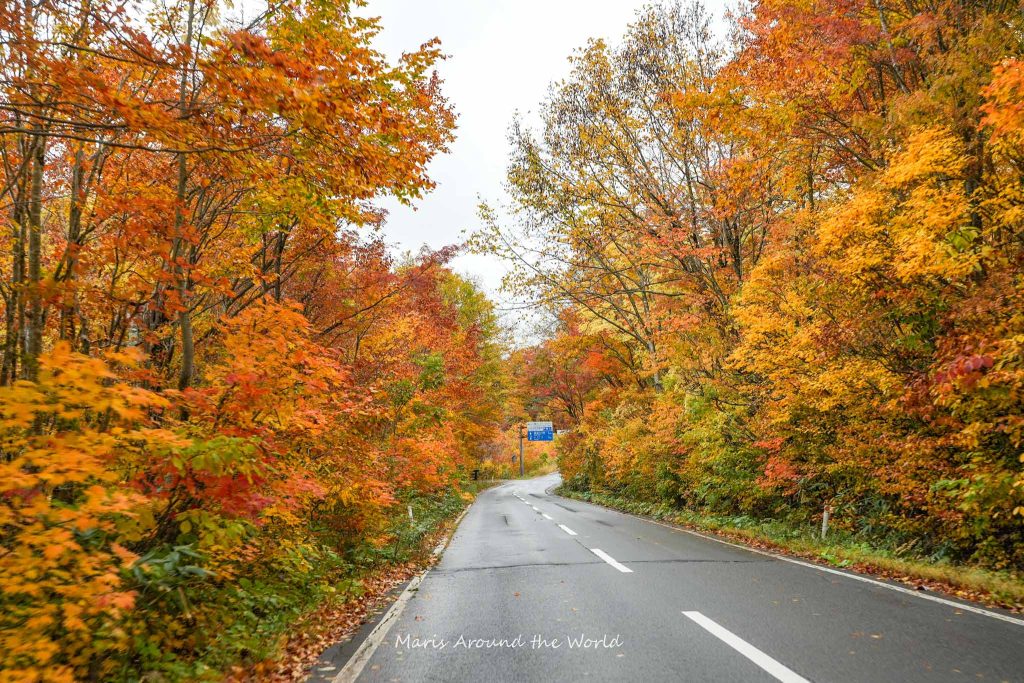
Hi Travelers! This article is all about planning a Japan road trip.
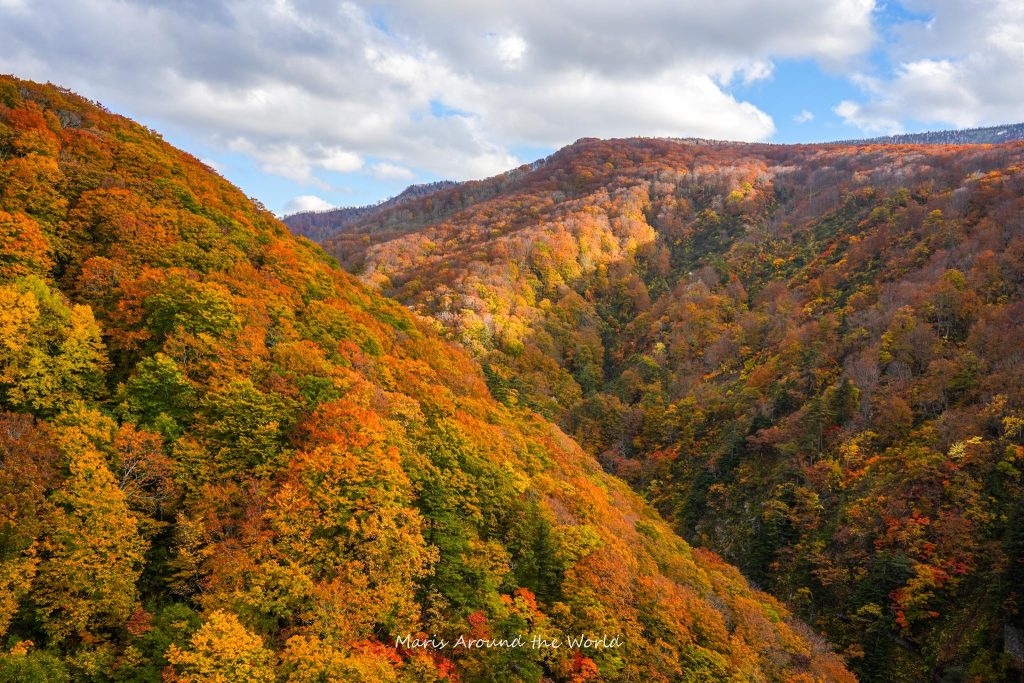
I recently went on a 2-week journey around the Tohoku area of Japan. The fantastic fall colors, new car camping experience – it was an incredible time!
Since a lot of planning and learning went into making the trip happen, I’ll share everything about the trip below, including how I made the itinerary, how I picked out a rental campervan company, and finally, how much the entire trip cost.
Hopefully, you’ll find this information helpful for your own planning purposes.
Now, let’s get rolling!
This post contains affiliate links, which means I may receive a commission if you purchase through my links, at no extra cost to you. Please read the full disclosure for more information.
Travel Vlog
Want to travel along and see the beauty of Tohoku in the fall? Check out the entire video series here or read this post for a succinct daily recap.
Itinerary Planning
How I planned this mega car camping trip, including deciding on the time of year, length of trip, destinations to visit, and places to stay.
When Should You Travel?
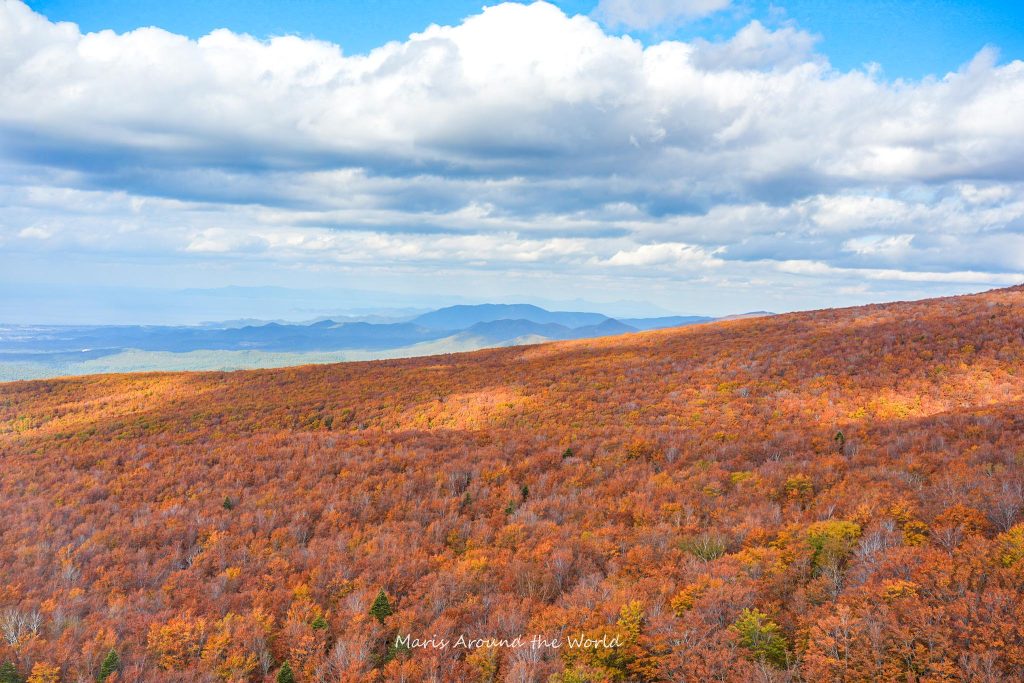
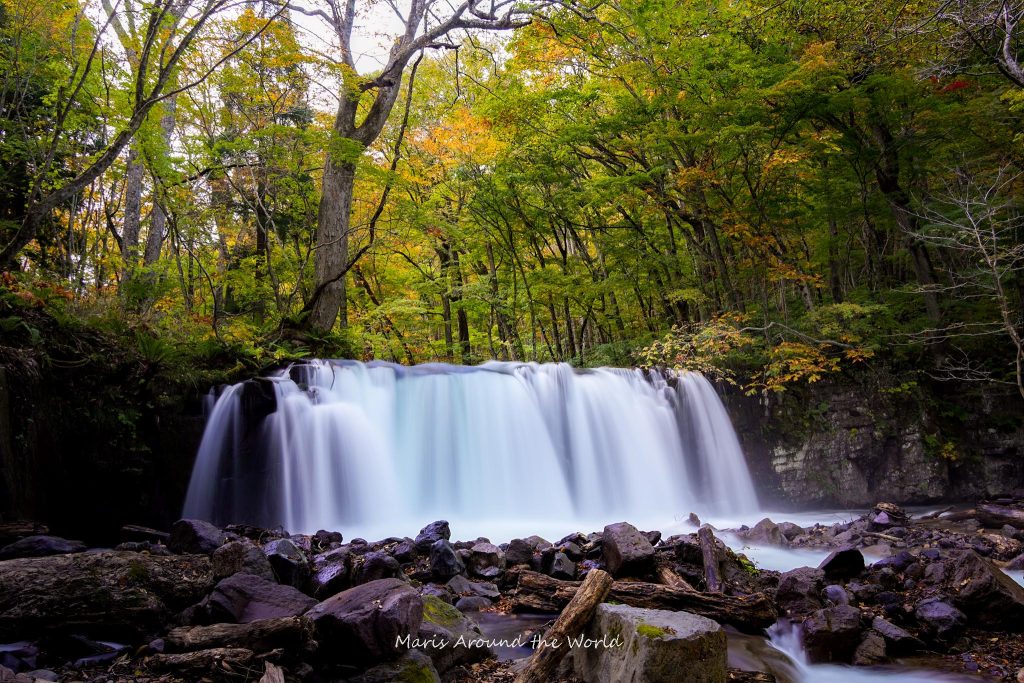
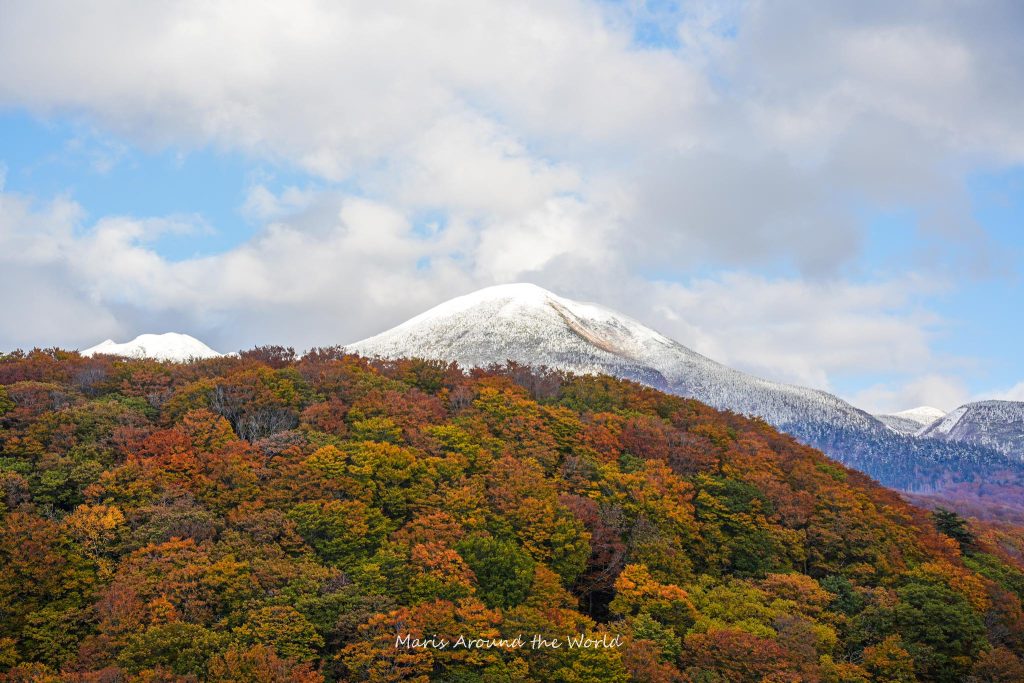
For my travels to Tohoku, I aimed to visit in the fall to try to catch the seasonal colors. This area is famous for striking colors, so I was eager to see the sights myself.
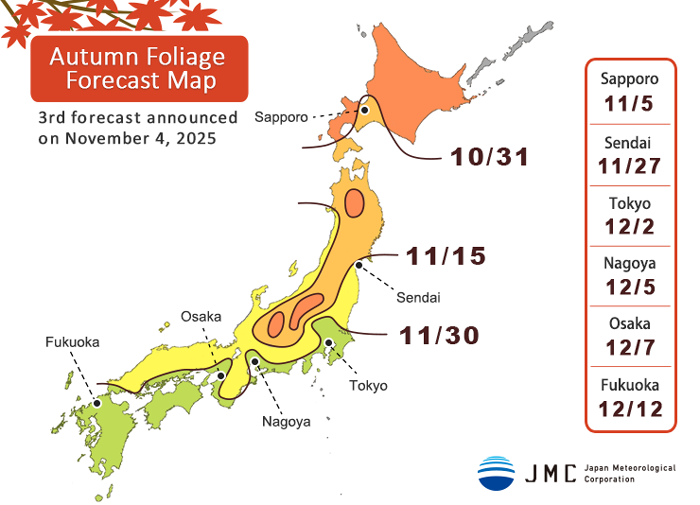
Referring to past fall foliage forecasts, I learned that peak season would be around October and November.
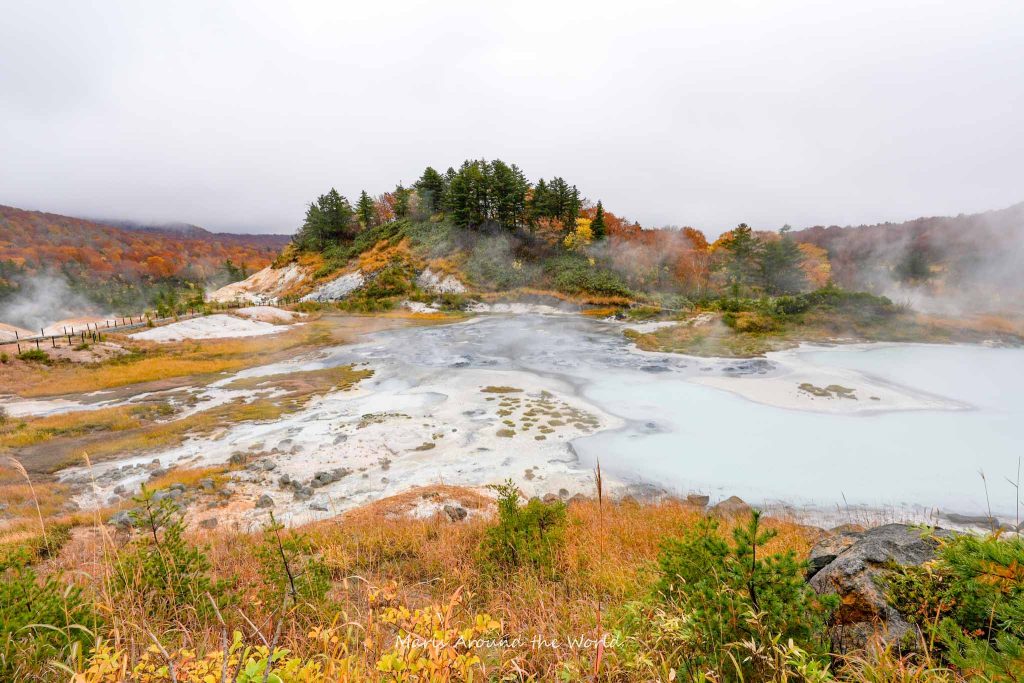
I didn’t want to travel once it got too cold since it would make driving and sleeping in the car more difficult, so I decided on mid to late October.
If you are trying to travel to see seasonal events like cherry blossoms or fall colors, consult the forecast maps provided by the Japan Meteorological Corporation. These give a good sense of when to expect peak blooms/colors and are updated a few times each season.
Also, if possible, I avoid travel during major National Holidays such as Golden Week in April/May, Obon in August, and Silver Week in September.
During these times, domestic travel spikes, and you’ll be faced with surges for hotels, rentals, flights, as well as many closed establishments.
How Long Should Your Trip Be?
Since I wanted adequate time to slowly explore Tohoku and the 6 prefectures within, I planned for a two-week trip. This ended up being ample time to enjoy traveling without rushing or getting worn out.
Planning What Activities to Do
The most time-consuming part of travel planning was deciding what activities to do.
I first researched each prefecture and made a giant list of sightseeing spots, activities, fall foliage locations, and recommended dishes/restaurants.
I added all of these to a Google Maps list to visually see where everything was located.
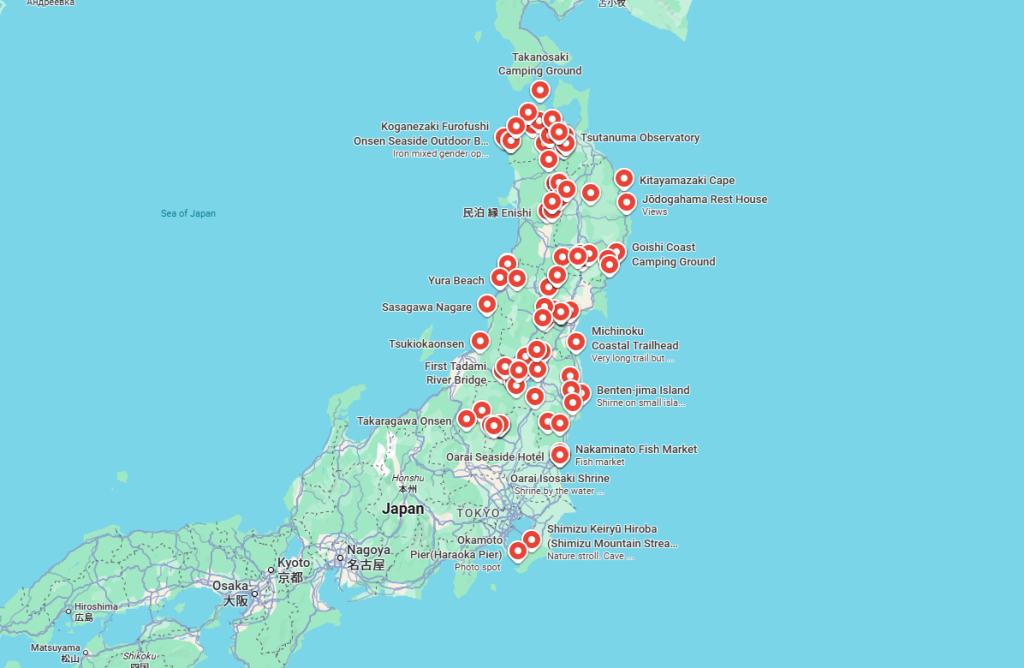
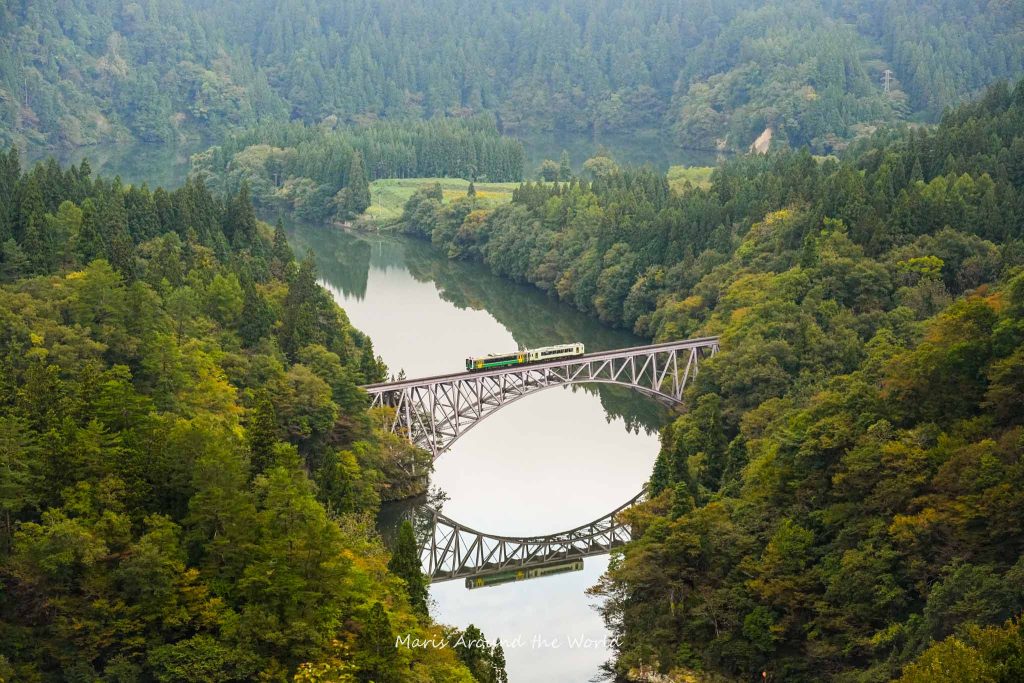
After picking some “must-dos” from the list, like seeing the train cross the bridge in Fukushima, visiting Oirase Gorge in Aomori, and climbing Yamadera, the temple with 1,000 stairs in Yamagata, I came up with a general travel route that included these and other nearby activities.
Next, I put the narrowed-down items into a spreadsheet, which was organized by daily columns.
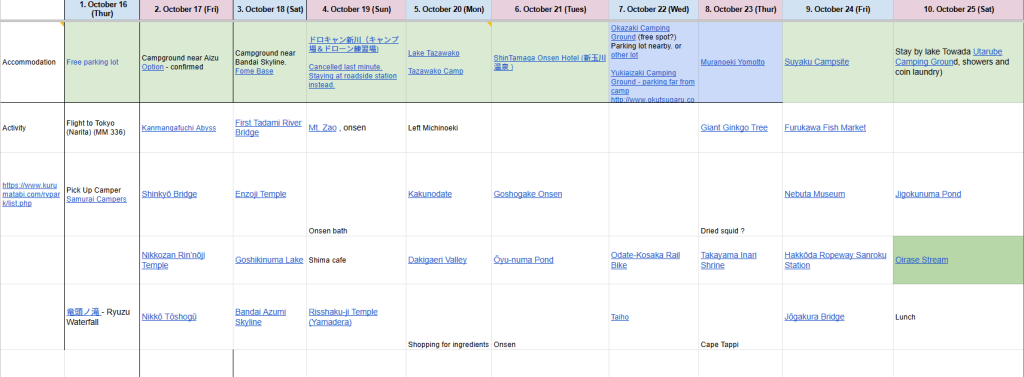
The spreadsheet was still pretty flexible and included extra items, so I could skip or adjust days depending on how the travels actually went. It was helpful to have an outline and an idea of each day, but still keep flexibility and space for spontaneous activities.
Deciding Where to Stay
Once I had a rough idea of each day and where I would be, the next step was to plan the overnight stays.
Since I was traveling in a campervan, most evenings would be in the car.
Since I also wanted to cook over a fire and enjoy camp-style evenings, I looked at campsites for several of the days. I booked either directly or through Nap-camp (Japanese only).
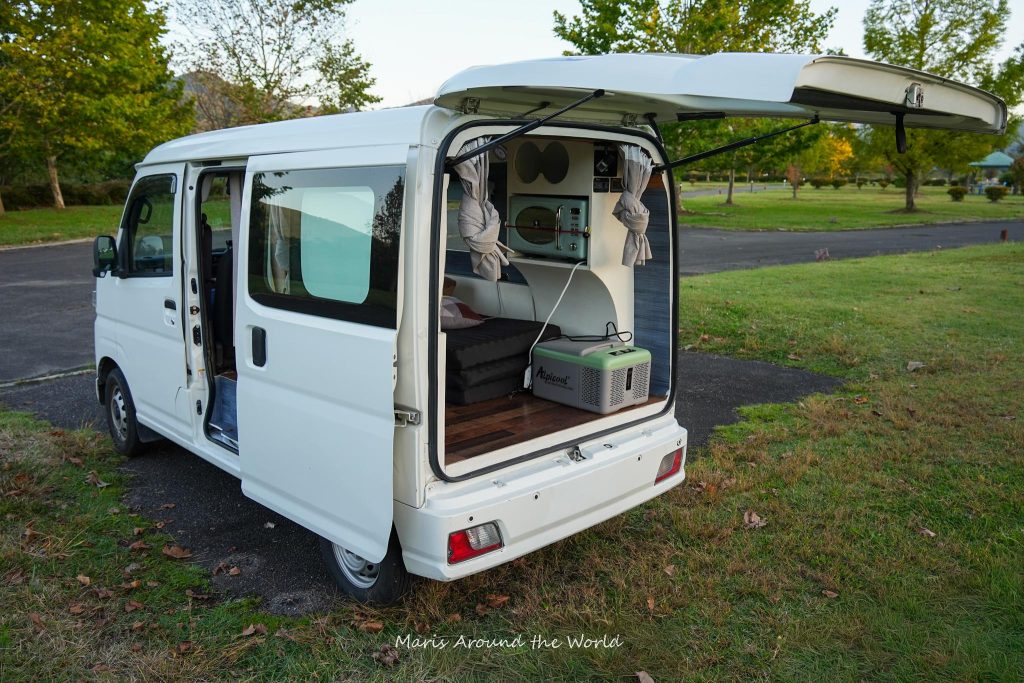
I also researched free parking lots, roadside stations, and other possible places to stay.
(About roadside stations)
While there were no explicit rules against staying overnight at roadside stations, bad behavior can cause backlash and tightening of rules. Here are the manners I followed to not inconvenience other visitors.
- Don’t wash or leave leftover food in the sink.
- Arrive near closing time or later in the evening.
- Leave before the stores open.
- Follow all trash separation rules.
- Don’t steal toilet paper.
- Don’t hang out outside the car/set up chairs, etc.
Aside from campsites and parking lots, I also booked 2 nights at a hotel – once in the middle of the trip and again at the end, using booking.com.
Choosing a Campervan Rental Company
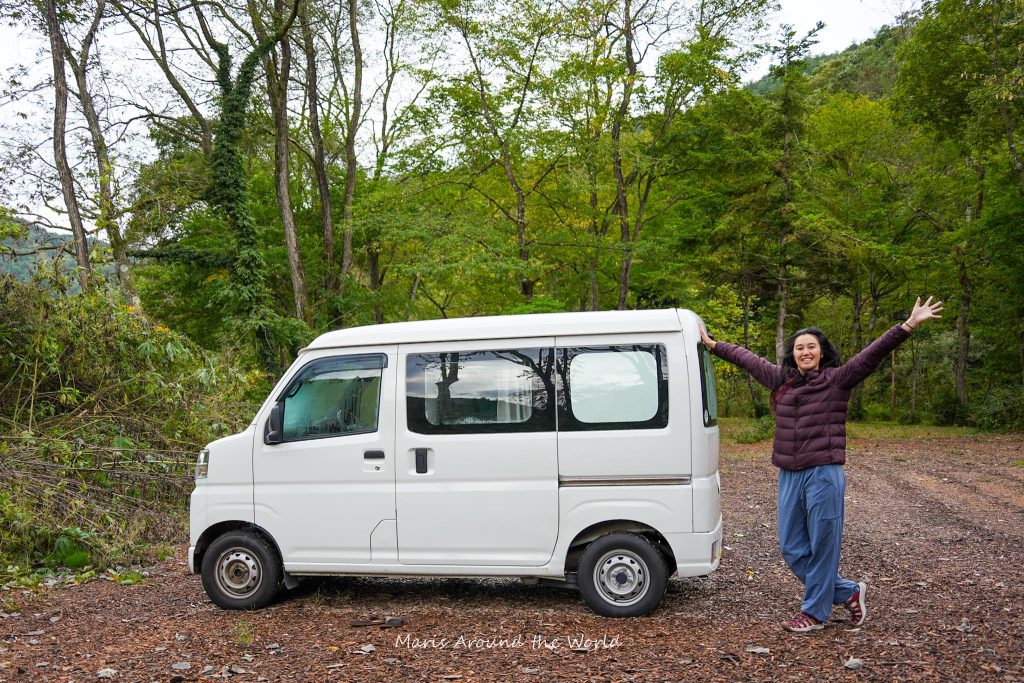
The next big question was figuring out which Campervan Rental Company to use. I put a lot of effort and research into this, but in the end, I was a bit disappointed by my experience.
Hopefully, you have better luck than I did.
What I looked for:
- A small-sized car renovated into a campervan.
- Easy to understand website, cancellation policy, and deposit.
- Good reviews from other users.
- Located close to Narita Airport, where I would be landing.
- Able to rent items from the company, including sleeping bags and cooking materials.
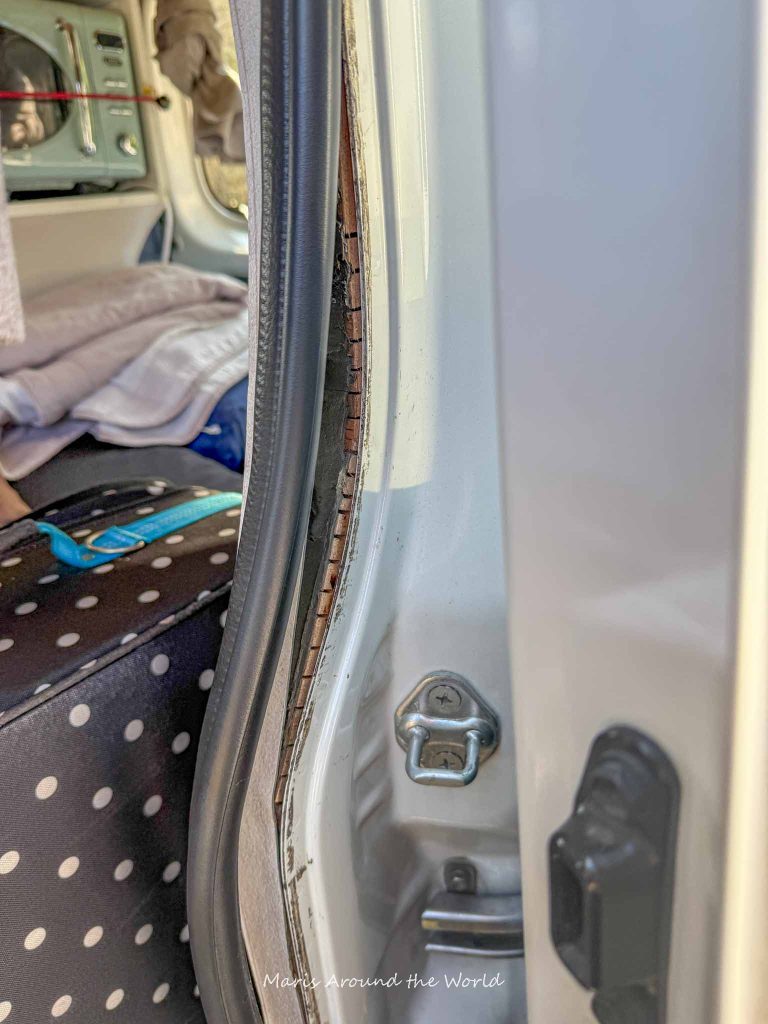
The company I ended up going with checked all of the above boxes. The car I received, though, was visibly run down and different in quality compared to the cars shown on the website.
The insulation was coming off, the windshield wipers didn’t wipe properly, and overall, it just didn’t feel well-maintained.
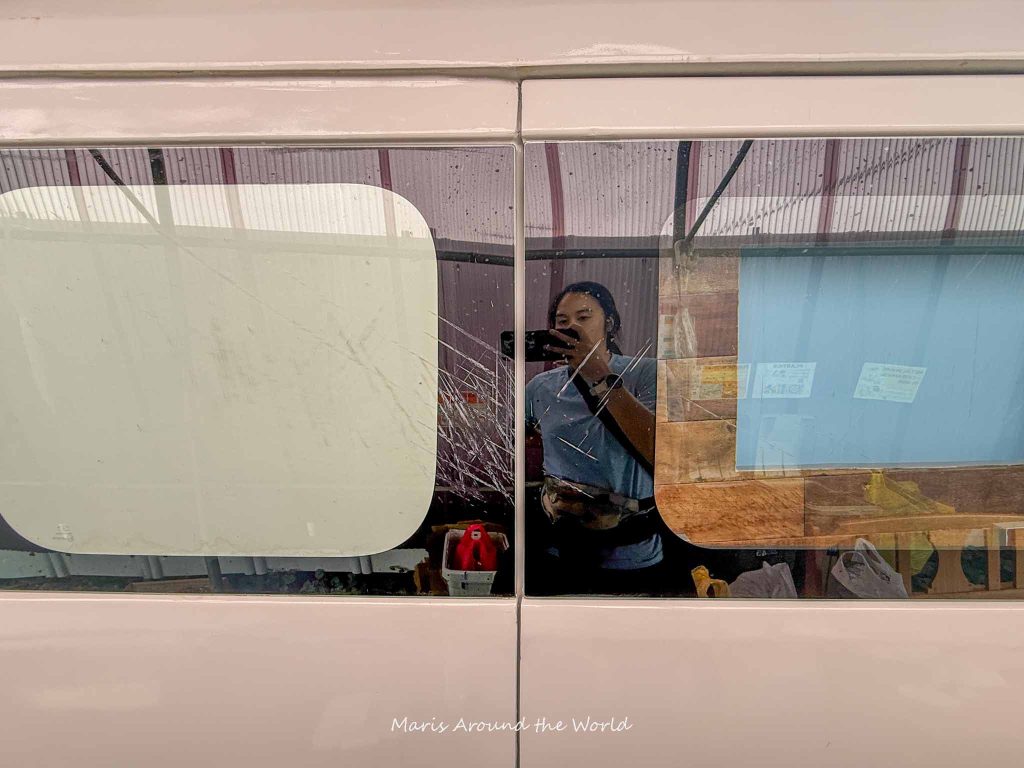
The nail in the coffin was that the sleeping bags we rented smelled absolutely horrible – they had an oily fish smell, which made driving and sleeping the first few nights unbearable.
For a full explanation about the pros and cons of the car, check out here.
While I didn’t love the care we had, it didn’t stop me from visiting all the places I wanted to go and seeing some incredible places.
What to Pack
Next up is everything I brought on the trip.
My partner and I each traveled with a carry-on backpack and checked-in luggage for a total of 4 bags.
Clothes:
I tried to keep it very simple in the clothes department. I brought layerable items since it would be cooler in the mountains but warmer at lower elevations and near the cities.
- Long sleeve heat tech under shirt
- Dry-fit t-shirts
- Light down jacket
- Heavier down jacket
- Leggings
- Light hiking pants
- Warmer fleece-lined pants
- Gloves
- Hat
- Scarf
- Underwear
- Sunglasses
Cookware and Camping Goods
Since I planned to cook most of the evening meals and visit a few campsites, I also brought along food and camping goods.
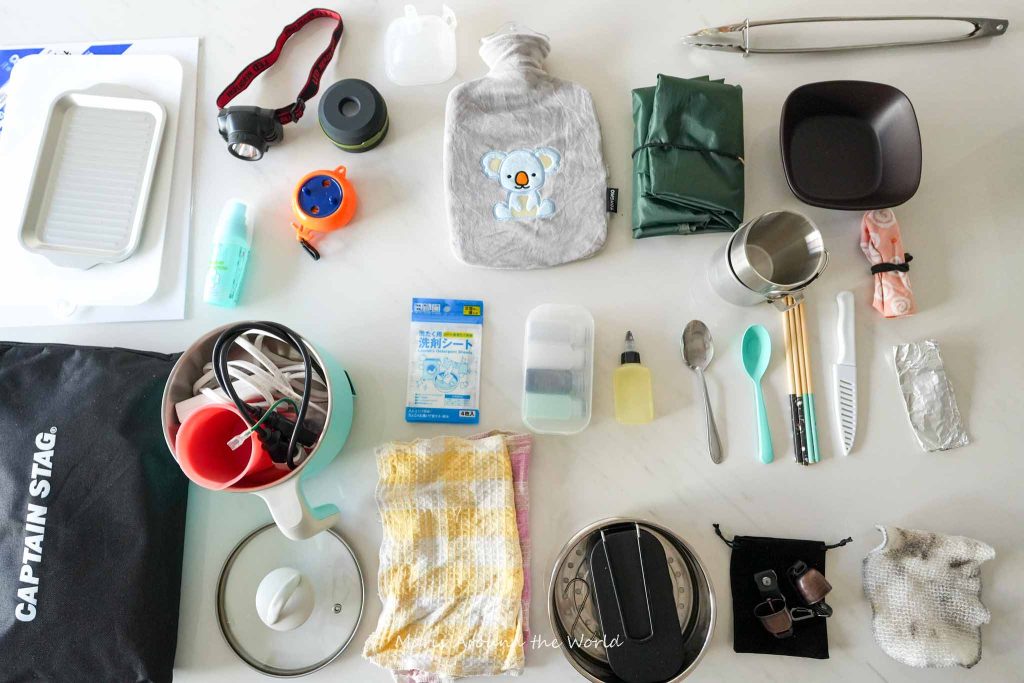
- Itaki Shabuki Hot Pot – This was my packing splurge and one of the best items on the trip! It allowed me to cook in the car, making everything from soups to pasta, steamed dumplings, and boiled eggs.
- Lightweight Bonfire Stand
- Seasonings – salt and pepper, oil
- Cups, bowls, spoons, chopsticks
- Dish soap
- Lights
- Towels
- Mini rice cooker and stand
- Bearbells
- Tongs
- Tarp
- Hot water holder
- Knife
- Clothesline
- Measuring cup
- Funnel
- Headlamp
- Foil
- Soap sheet
Journaling Items
During the trip, I kept a daily scrapbook! It was a great way to record memories in real time and was a nice activity to end each night. Now I have a lovely memento of the journey.
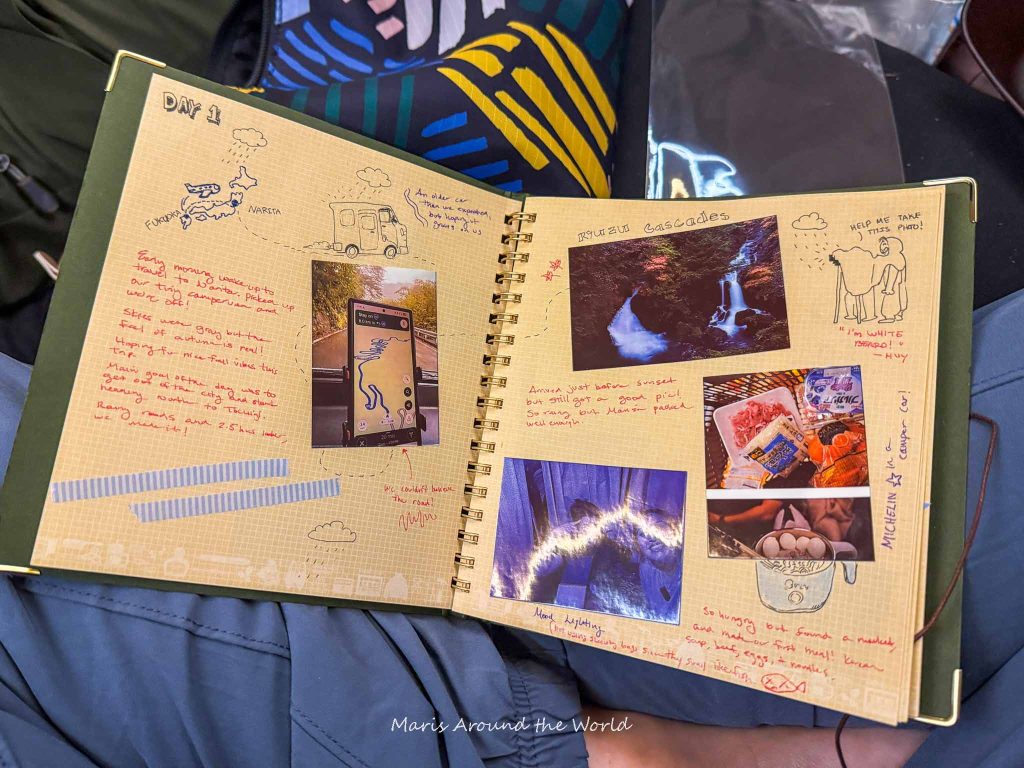
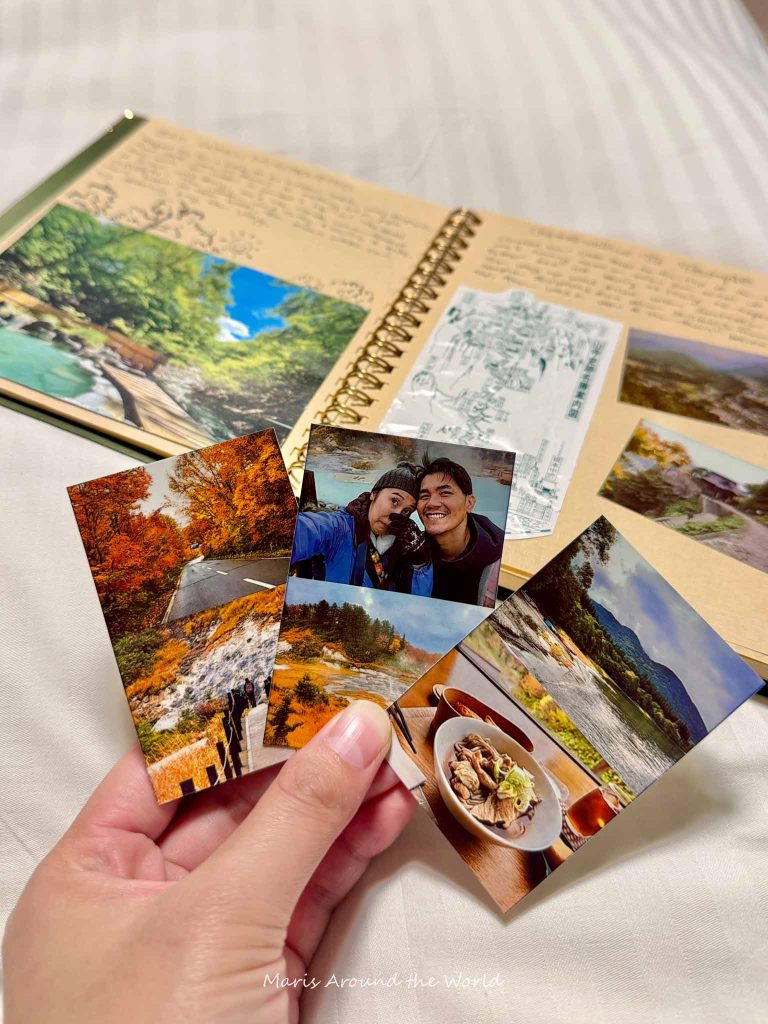
- HP Sprocket Bluetooth mini printer
- Extra sticky printer paper
- Notebook
- Pens
- Washi tape
- Mini scissors
- Glue stick
Camera Gear
To record the daily vlogs and photos of the trip, I hauled all of my camera and video gear with me.
- Sony A7iV
- Sony ACII
- DJI Osmo Action 3
- DJI Wireless Mic
- Lenses, filters, cleaners…
- Manfrotto Compact Tripod
- Laptop
- Portable SSD drive
- Chargers
- etc…
Rental Items
And finally, here are the items that I rented from the campervan company. It was great that I didn’t have to bring these myself, and most of the items were super helpful to have during the trip. (Except for the smelly odor of the sleeping bags)
- Mini fridge
- Camping chairs
- Sleeping bags
- Food kit – gas stove, pot, pan (this was free when we rented, but it is now a charged item.)
How Much Does it Cost?
So you might be wondering, how much did this all cost? If so, I’m glad you made it to the end!
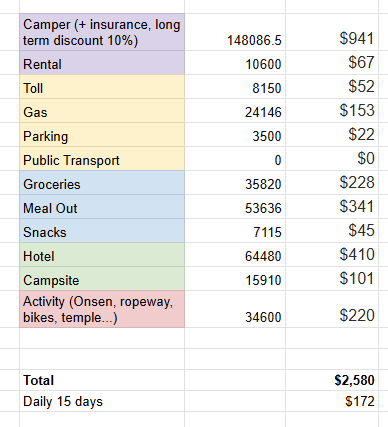
Here is a rundown of all the costs for my 15-day, 14-night campervan trip for 2 people.
- Car (plus insurance and a 10% long-term discount) – $941
- Rentals (chairs, fridge, sleeping bags) – $67
- Gas (2400 km, 1500 mi) – $153
- Tolls (Avoided as much as possible) – $52
- Overnight stays
- Campsite (6 nights) – $101
- Hotel (2 nights) – $410
- Parking lot/ roadside station (6 nights) – Free
- Food
- Meals out (lunch, cafe, one dinner) – $341
- Groceries (ingredients for dinner, breakfast) – $228
- Snacks – $45
- Activities (onsens, entry fees, temples, rope ways, rail bike, etc) – $220
So that leads to the grand total for the trip… $2,580 → or $172/day for 15 days.
Final Thoughts
And that’s a wrap!
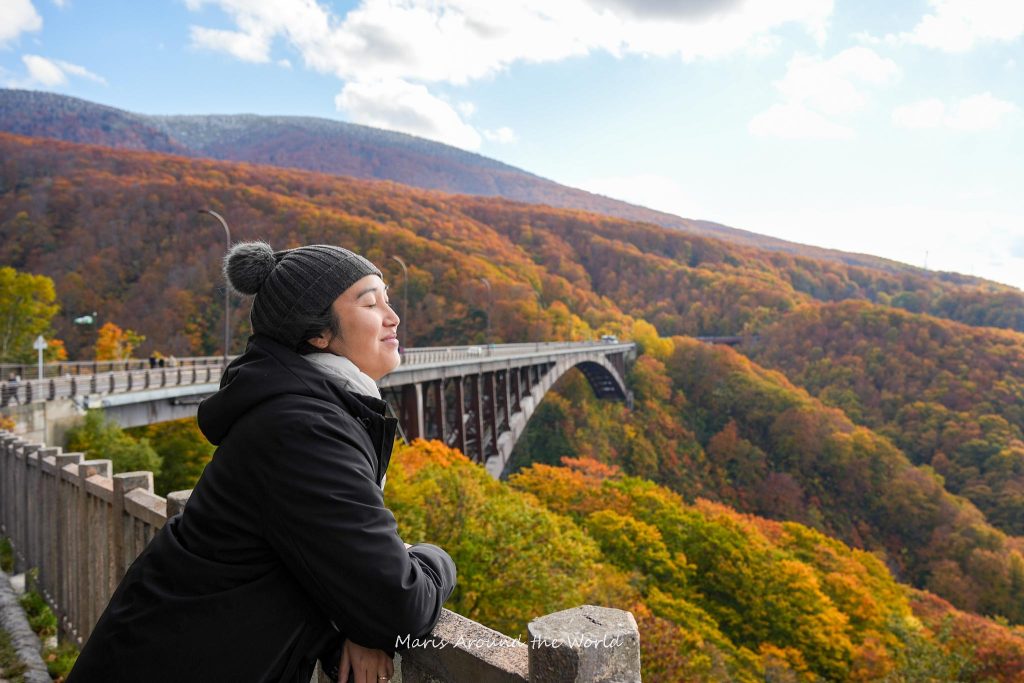
I hope you found this post helpful, and if you haven’t already, check out the entire video series! Tohoku is a wonderful place, and I loved visiting, especially during the fall!
Leave a comment if you’re planning your own Japan car camping trip, and peruse these other posts for more Japan travels off the beaten path.
- Hiking the Kumano Kodo (Nakahechi Route, 5 Days): Complete Itinerary and Guide
- Walking the Nakasendo: Yabuhara and Narai Post Towns
- Solo Biking the Shimanami Kaido: A Complete Guide
See you on the next adventure!